Introduction #
This guide gives an overview of all the steps required to officially port a map to Momentum Mod.
The goal of porting is two-fold:
- Ensuring the map functions correctly
- Conforming to a high standard of competitive integrity
Maps should not be significantly modified.
It’s very important to respect the spirit and intent of the map’s design.
You are free to port any publicly available map with some exceptions:
- Mappers can reserve/block porting of their maps using this form
- Before porting make sure the map isn’t on this spreadsheet
- You are not free to port maps created only for specific servers without explicit permission
- When in doubt, contact the mapper ( please don’t spam them )
Setup #
If you have any questions feel free to ask for help in #map-porting channel on our Discord!
Porting for gldsrc gamemodes (Conc, HL1Bhop, 1.6KZ) as well as Defrag is way more complicated and requires a different approach.
Please follow the gldsrc porting guide and the Quake 3 porting guide.
Tools #
Lumper - General porting toolkit. Only use for steps in the guide unless you know what you’re doing.
Entity Tools - In-game tools automating a lot of porting steps. Usage will be covered later in the guide. These are always preferred over Lumper.
Preparing the game for porting #
- Download Lumper
- Download the map you want to port (maps in .bz2 format can be extracted using 7zip):
- fastdl.me - Contains a huge collection of Surf, Bhop, and KZ maps
- gamebana.com - General modding forum. Often contains information required for submission such as credits, description, and release date
- ksf.surf (preferred for Surf) - Main hub for competitive surf
- jump.tf (preferred for RJ/SJ) - Main RJ/SJ forum
- femboy.kz - CS:GO KZ maps
- Rename the map
- Some map names include version info like _a13, _b2, _njv etc. Rename the .bsp file to remove it
- RJ/SJ maps use jump_ prefix. This should be changed to rj_ or sj_ depending on for which gamemode the map was originally made
- Put the map (.bsp) in /momentum/maps folder
- You can access it by right clicking Momentum Mod in your steam library and selecting Manage → Browse local files
- Open the map using Lumper
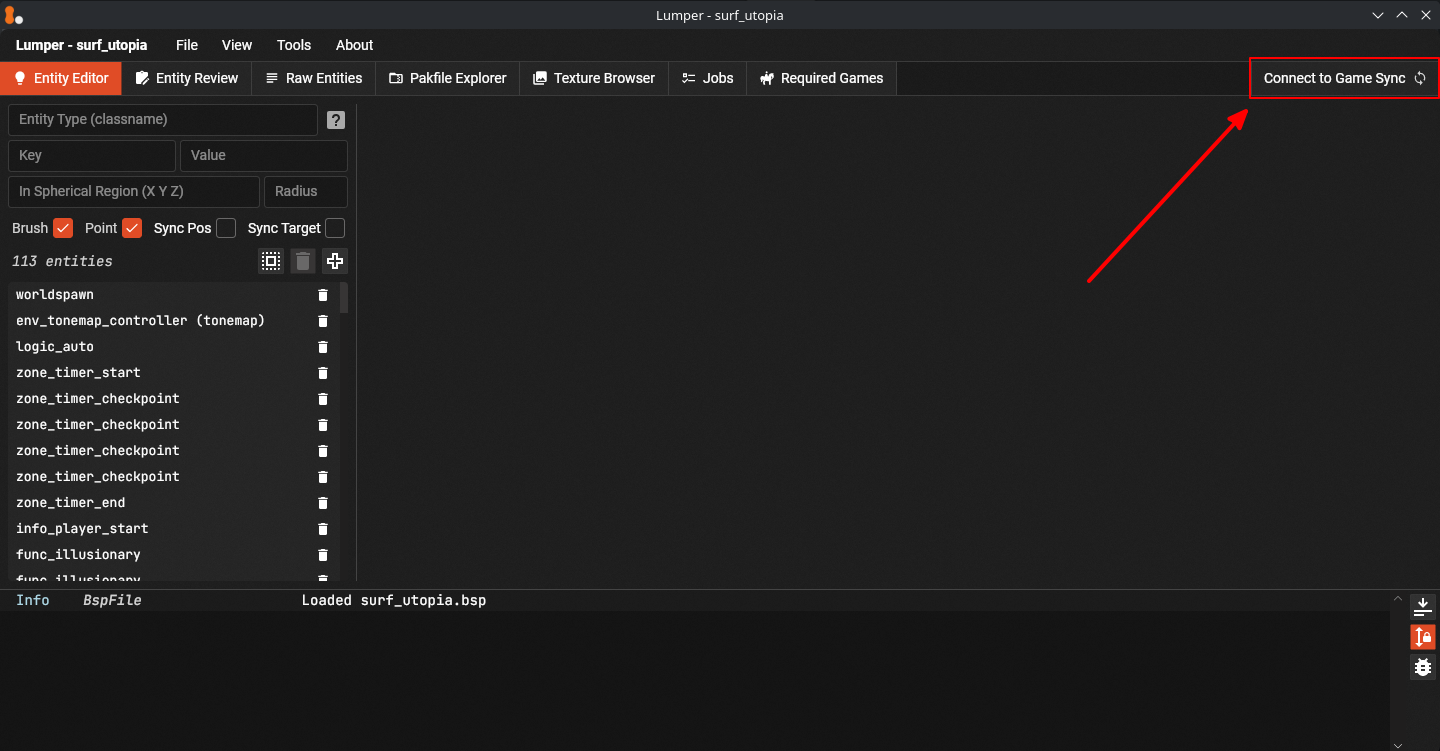
- Open the map in Momentum Mod by opening the console (~ by default, key below ESC) and typing
map <map name> - Open the console again and enable cheats (
sv_cheats 1) as well as Lumper synchronization (mom_lumper_sync 1) - Click the Connect to Game Sync button in Lumper
Porting #
Step 1: Remove Valve Assets #
Maps may include packed materials, models, and other asset ( similar to a .zip file).
Momentum Mod cannot legally redistribute Valve’s assets.
Valve’s assets may still be used on maps however it is necessary to remove them from the .bsp.
- Go to the Jobs tab in Lumper
- Add Remove Game Assets job
- Run the job
A small amount of assets from Source games other than CS:S, CS:GO, TF2 and Portal 2 can remain packed.
That can be done only if they are relatively generic and not fundamental to that game’s aesthetic.
When keeping Valve assets packed, it is required that you list them in the porting changelog during Map Submission.

Step 2: Modify Remaining Assets and Fix Cubemaps #
Textures #
- Go to the Texture Browser and Right Click → Remove any explicit material or obvious copyrighted assets you may find
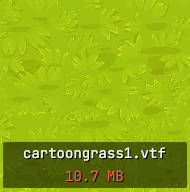
- Consider resizing/reencoding any assets that take a lot of space (marked by yellow/red)
- If the texture is at or above 2048x2048 it consider resizing it down a level
- If the texture uses an uncompressed format consider reencoding it
This should be evaluated on a case-by-case basis.
It’s perfectly fine to leave big assets unchanged, this step is not strictly enforced.
If you are not sure whether you should resize/reencode them, it’s better to leave then unmodified.

Sounds #
Music in Momentum Mod need to be categorized properly for volume sliders to work.
- Go to the Pakfile Explorer in Lumper
- Scroll to the bottom to see if /sound folder exists
- If it does, listen to every sound to identify music files
- You can use Open in External Program button or Right Click → Export the entire folder to listen to the sounds
- Remove all copyrighted music
- Right Click → Delete
- Move remaining music files into the /music folder
- Right click on /sound → Create Directory -> music, then drag and drop sounds into it. Click yes on the pop-up

Cubemaps #
If you renamed the map during the setup, reflections might be broken.
You can skip this step if you didn’t rename the map.
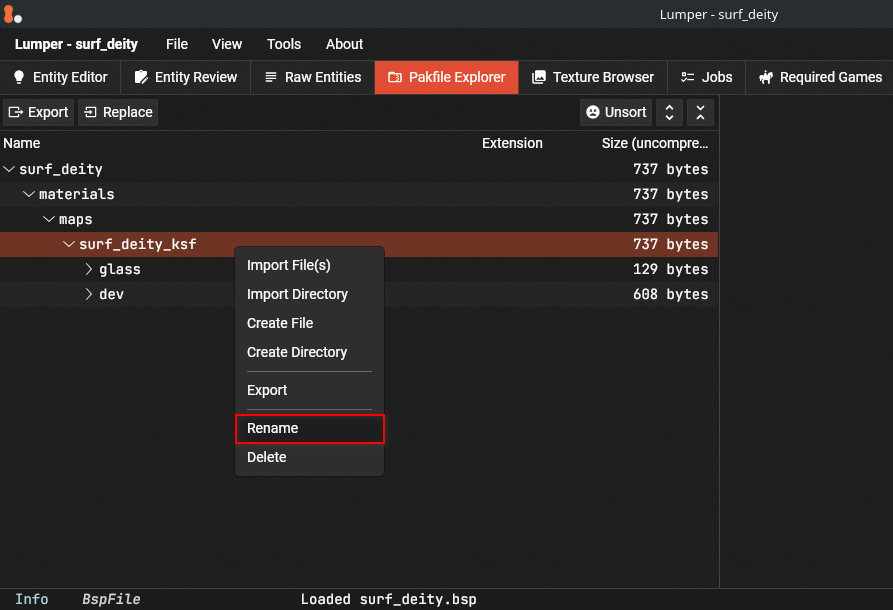
- Go to the Pakfile Explorer in Lumper
- Check if the map has /materials/maps/<old_map_name> folder
- If it does Right Click → Rename that folder to the new map name. Click yes on the pop-up
Step 3: Fix Entities #
- Go to the Entity Review tab in Lumper
- Remove all invalid entities
- Clicking the edit button on the right will bring you to Entity Editor. You can delete entities there by clicking the trash icon
- Fix other entities by following the Entities Guide and comments in Lumper
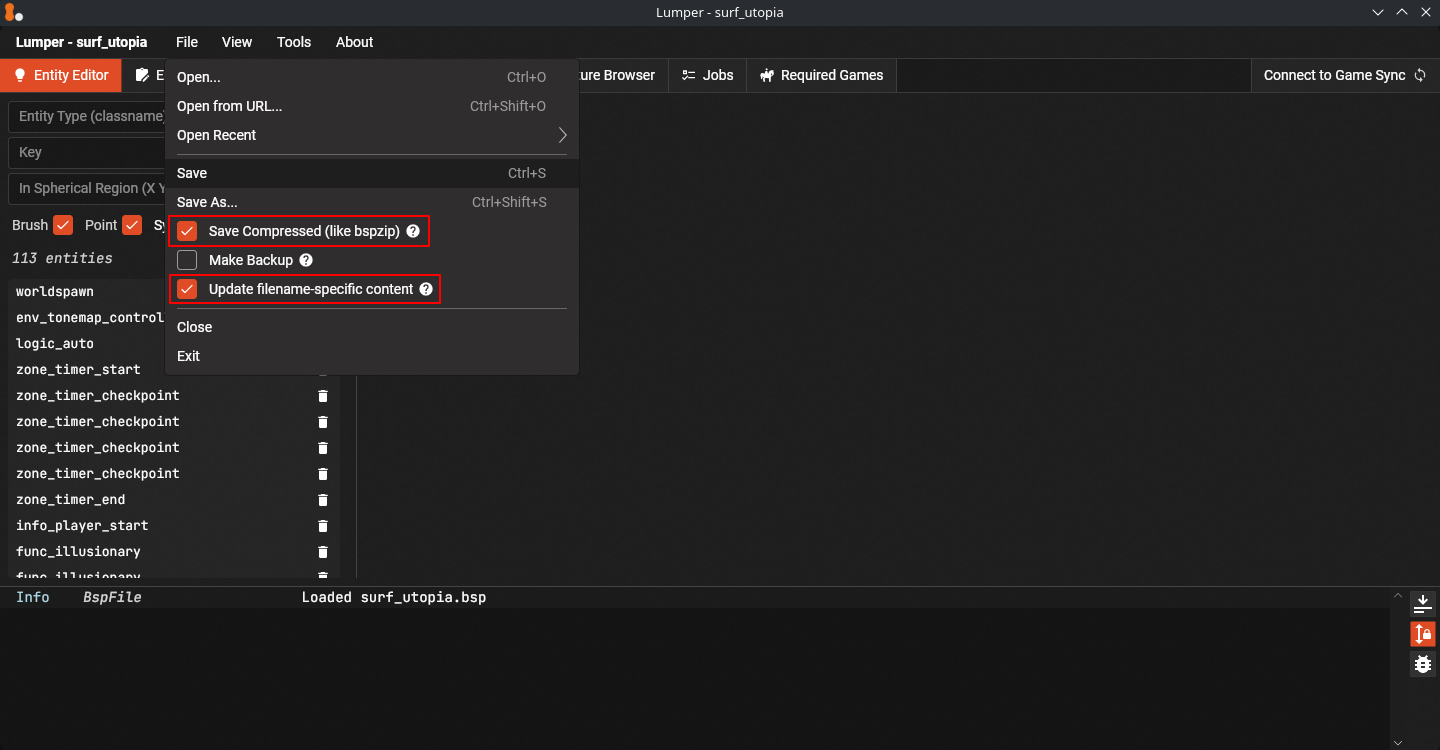
Step 4: Compress the Map #
Compression will significantly reduce the filesize.
- Check Save Compressed
- Check Update filename-specific Content
- Click Save
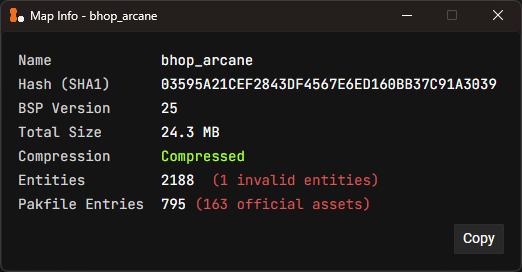
You should double check that your port has no remaining issues with the Map Summary tool.
You can find it in Tools -> Map Summary or by using the CTRL + H shortcut.
Step 5: Take Screenshots #
- Fly around the map in noclip (g by default,
noclipin console) to find good spots to screenshot- You can use maximum of 5 screenshots, 1 for the thumbnail, 4 for the gallery
- Use
mom_official_screenshotin console to take screenshots. This command will automatically apply all relevant settings.- Screenshots will be saved to /momentum/screenshots
- You can bind the screenshot command to a key for ease of use in keybind settings or with console by typing
bind <key> mom_official_screenshot
mom_official_screenshotamong other things will set your brightness to 1 ( default ).
Maps should not require changing the brightness to be playable.
If you’re porting your own map, please make sure it’s properly lit.
Some mappers provide their own screenshots on gamebanana (Surf, Bhop, KZ) or jump.tf (RJ/SJ).
While you may not use those screenshots directly, feel free to recreate them using the steps above.
Step 6: Zone the Map #
Follow the Zoning Guide.
It will teach you how to add the Start and Endzone, Bonuses, Stages, and Checkpoints!
Step 7: Submit the Map #
You have successfully ported the map!
All that’s left to do is Submit the Files and all relevant information.
Follow the Map Submission Guide!